Safety Bar Squats
The safety bar squat is an excellent squat variation. It's useful for people who have an injury, or just lack the shoulder mobility the squat regularly. Many people find that squat workouts have a negative impact on their bench press as the squat beats up their shoulders too much they're squatting and benching often. Due to the handles being in front of you. , the safety bar is very easy on your shoulders.
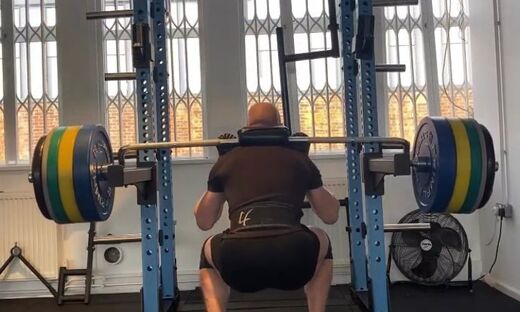
Safety Bar Squat
Setting Up the Rack
First thing you need to check that the hooks are the correct height. You don't want to have to tip toe the bar out, or into the rack. This is a common mistake people often make. You also don’t want it too low that you waste too much energy unracking it.
A good starting point is to have the hooks set so the bar is level with your sternum.
A good starting point is to have the hooks set so the bar is level with your sternum.
Where to Place the Pad on Your Back
You don't want the back pad to be pressing against your neck. Ideally you want to place the bar on the middle of your traps. This will take the pressure off the cervical spine and helps you maintain a neutral spine during the lift. Have the handles pointing forward, or slightly up. If the handles are pointing down, the pad will likely roll up to your neck and you'll feel pressure on your cervical spine.
Getting Tight and Bracing
This is a vital part of the safety bar squat and the thing most people don't do well. Getting tight and bracing allows you to lift more weight, and will reduce the chance of injury.
Squeeze your shoulder blades as hard as you can for the whole rep.
Before every rep, you need to take a big breath into your diaphragm to create Intraabdominal pressure. When breathing into your diaphragm, your stomach should inflate out. You will hold this breath during the rep at least until back up at the top of the rep.
Contract your abs like you’re about to get punched in the stomach. This combined with taking a big breath will ensure you’re core is braced.
Walking The Bar Out of The Rack
Start with your feet the width you plan to squat with. Get tight and brace, and get your hips under the bar and squatting the weight up out of the hooks. Be aggressive when you un-rack the bar.
Once you the bar, don't rush. Wait for a second and let the weights settle. Take a small step back with one foot, then a little step back with your second foot, and then a third step if needed. You want the walkout to be as efficient as possible so that you waste minimal energy. You shouldn’t ever need more than three steps to walk out. A common mistake people make it to take far too many steps
Once you’ve walked the bar out, you will already be braced and the upper body will be tight. You now want to get even tighter so you have complete control of the bar. Squeeze your shoulder blades together, and tense your abs even harder.
The Squat
With the safety bar squat, I like to initiate the descent with your knees out instead of pushing your hips back. As you squat down your hips will go down at a later point keeping you in a more upright position. The reason for this is the safety bar can sometimes throw you forward, and if your hips are far back like a low bar squat when it happens, you'll likely tip forward and fail the rep.
As you go down, use your hands to keep the handles pointing forward or slightly up. Don't pull the handles into you.
When you're coming out of the bottom of the squat, push your back into the bar as hard as you can. Sometime people will raise their chin as they do it. Don't do that. Keep your chin in the same position for the whole rep.
Keep the handles in place. Don't pull on them, or lift them up as you come up. Pulling the bar can cause your upper back to round.